Horsebox Sauna Build Update – Wax, Lighting and Signs
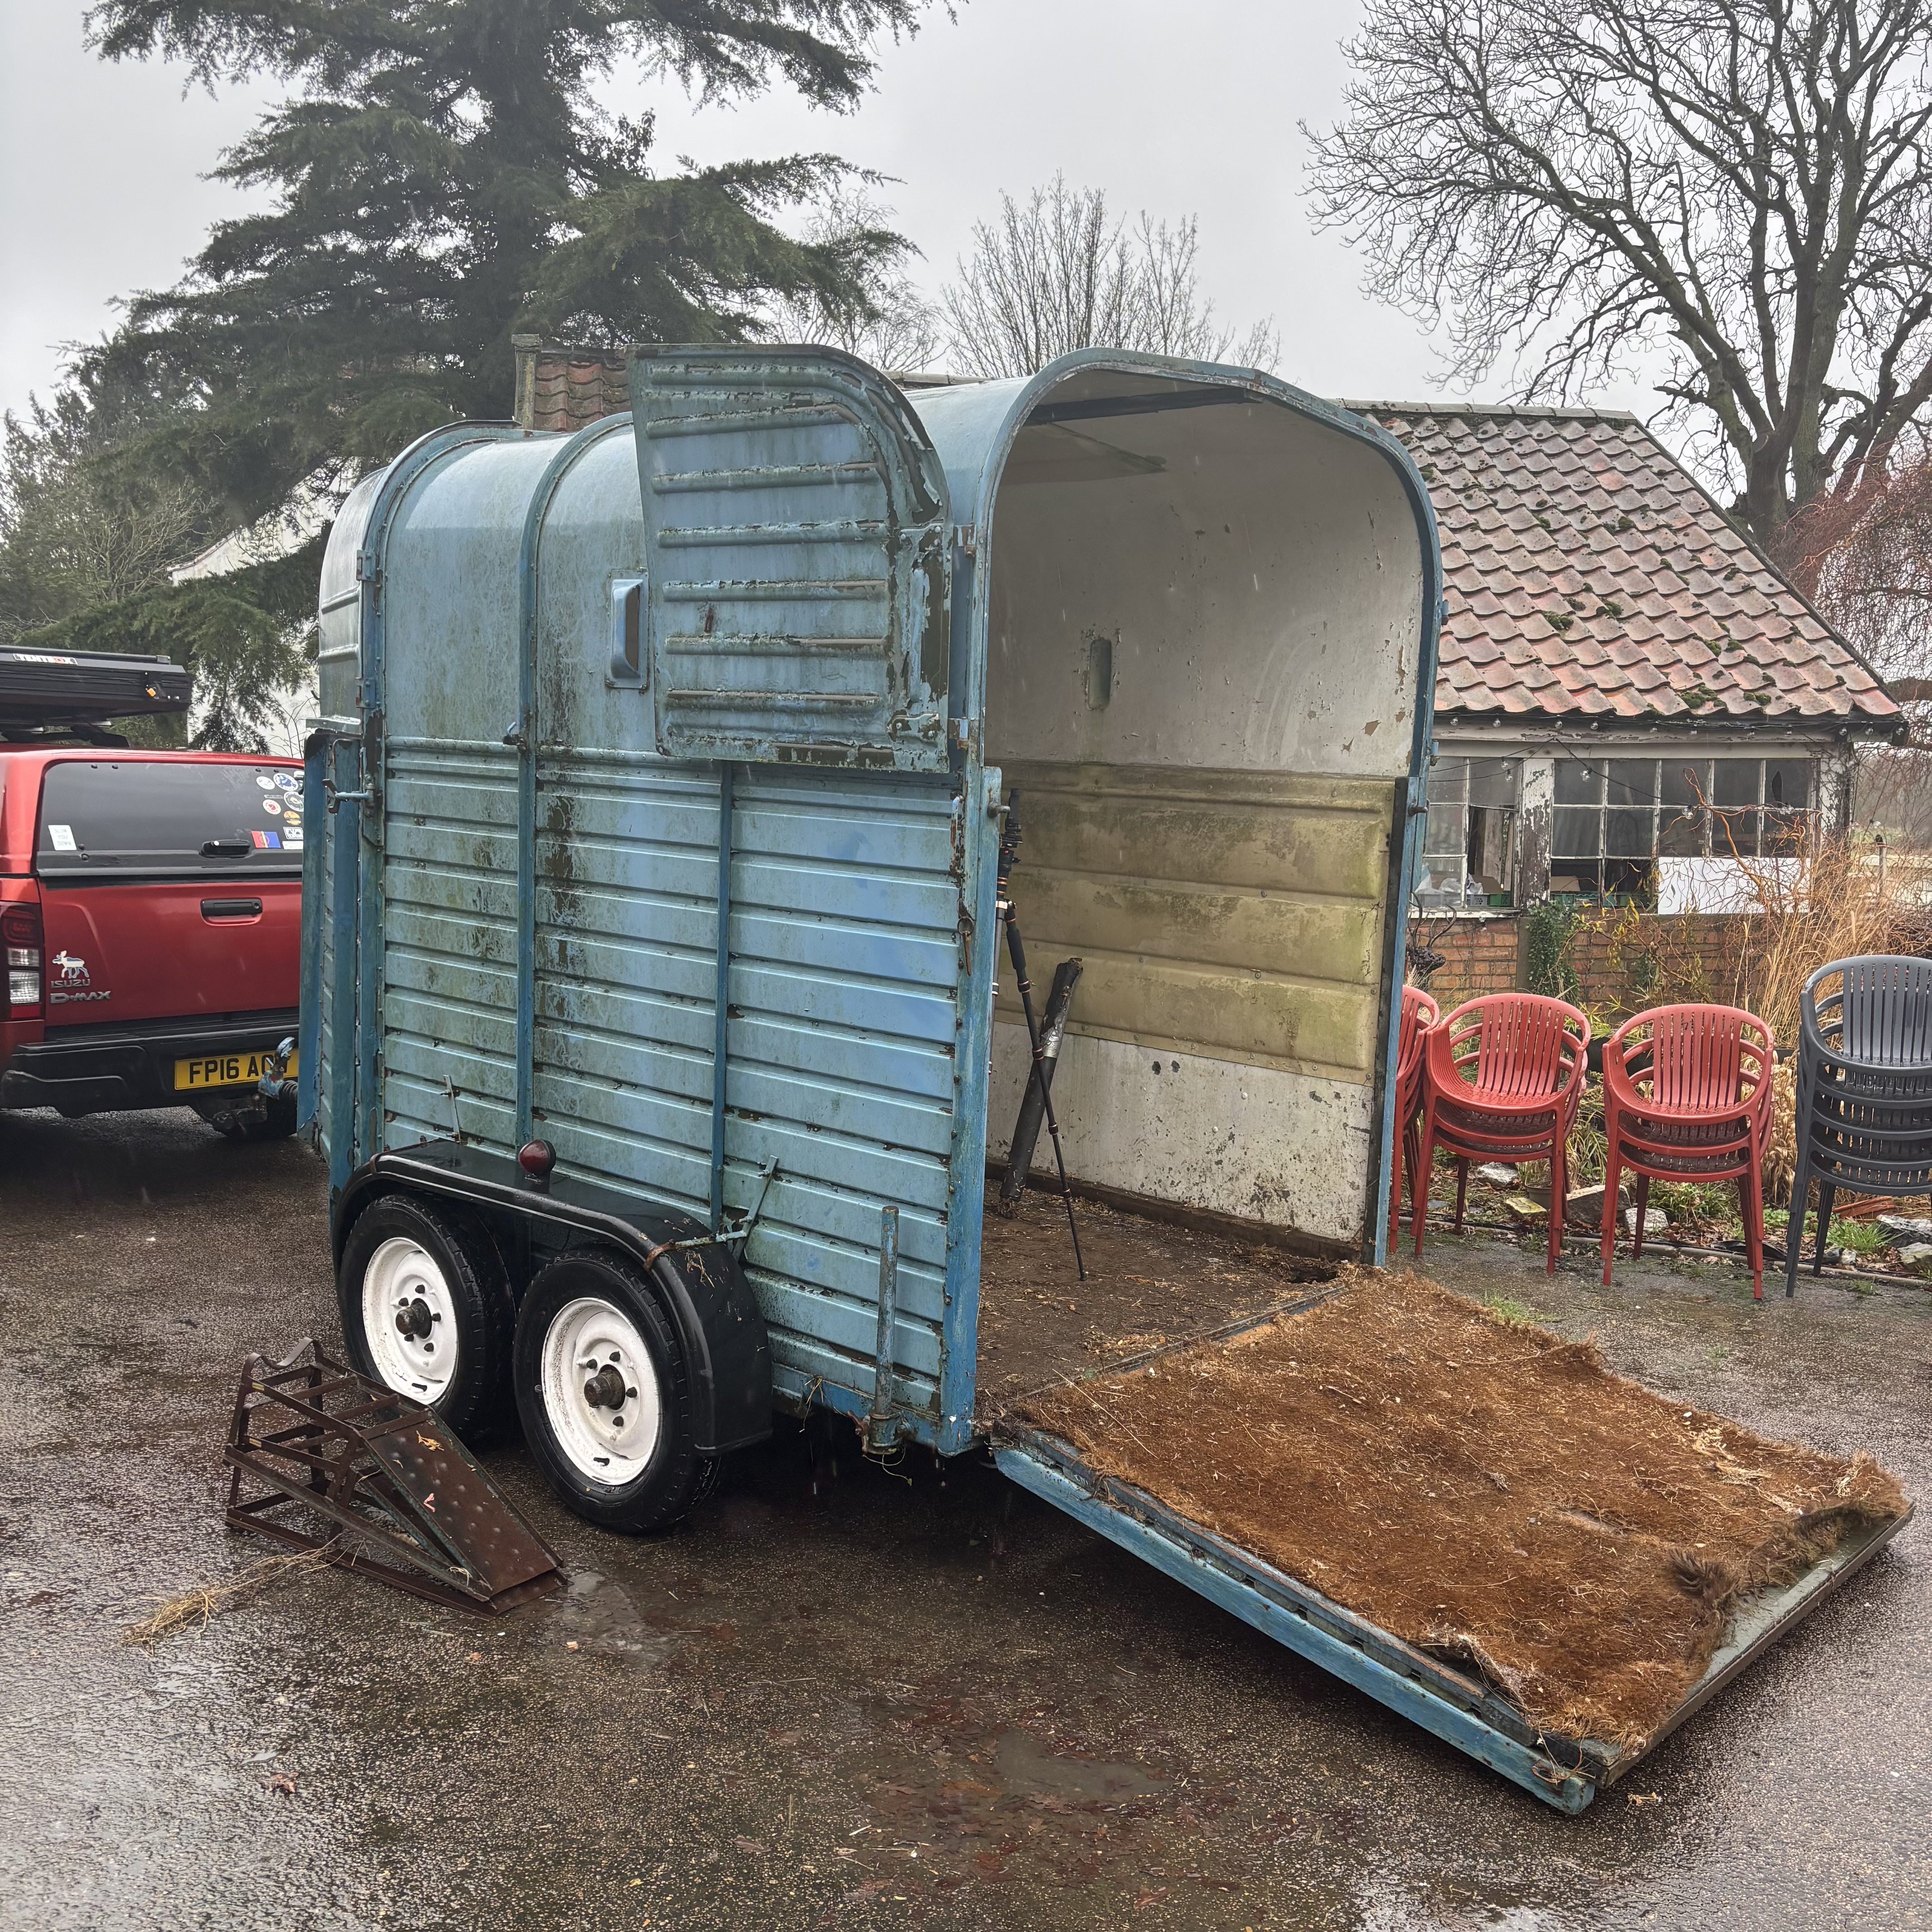
This horsebox sauna build Suffolk project is finally starting to feel real. After a couple of dry days, the ground at Cyder Farm has firmed up and we’re pushing ahead with interior progress before opening on 25th April.
You forget how heavy everything feels when the ground is soaked. Boots caked. Wheelbarrows fighting you. Tools sinking into mud. But today felt different. Solid underfoot. Luke’s been cracking on getting the campsite ready for the first guests and you can feel the shift now.
This horsebox sauna build is no longer just a winter project.
It’s nearly opening.
Progress on Our Suffolk Horsebox Sauna Build
Today wasn’t flashy. No dramatic install. No big reveal moment. Just lots of small jobs getting done. And honestly, those are the days that matter.
First Coat of Wax Inside the Wood Fired Sauna
I applied the first coat of wax to the inside cladding.
It’s a specialist sauna wax. Not standard varnish. Not something you’d grab off a DIY shelf. In a wood fired sauna, heat changes everything. Normal finishes can off-gas, discolour or just fail over time. This stuff is designed for proper sauna conditions. High heat. Moisture. Sweat. Real use.

I went with a white finish.
Not because it looks trendy. Because it makes sense.
In a compact sauna build, darker timber absorbs light and shrinks the space visually. I wanted this wood fired sauna in Suffolk to feel open, not heavy. The white wax keeps the grain visible but lifts the light around the room. It reflects daylight. It softens the corners.
Specialist sauna wax is designed specifically for high-heat environments, unlike standard interior finishes.
It feels calmer already.
Applying it is slow. Cloth. Grain. Patience. Let the wood take what it wants. You can’t rush it. And weirdly, that’s part of it. Builds like this aren’t about speed. They’re about doing it properly.
For the first time, the inside feels less like timber and more like a place you’d actually sit and sweat.
Interior Progress on the Horsebox Sauna Build Suffolk
Next job was fitting the LED lighting.
I’ve run strips through the side vents, the front vent and a soft strip along the back wall. Nothing aggressive. No bright white glare. Just a quiet glow.
The white wax actually makes the lighting work better. It bounces gently instead of absorbing everything. When the stove’s lit and steam starts to build, that light should just sit in the background. Warm. Steady. Not shouting at you.
Lighting in a sauna is a fine line. Too much and it feels clinical. Too little and it feels cramped.
This feels right.
Signs On. Cladding Finished.
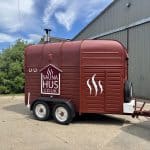
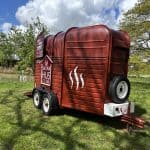
I installed one of the exterior signs today.
That was a moment.
When you’re deep in a sauna build, it’s easy to forget what you’re actually creating. But when the name goes on the side of the horsebox, it stops being “the project” and becomes Sauna Hus.
I also finished off a few small cladding bits I’d been stepping over for weeks. Those little trims that sit half done because there’s always something bigger to tackle.
Not today.
Today they got sorted.
Getting Ready for Opening Day
While I was inside waxing and wiring, Luke was outside getting the campsite ready. Grass cut. Ground levelled. Tidy up jobs that no one notices when they’re done well, but everyone notices if they’re not.
First guests arrive 25th April.
That’s not far away now.
This horsebox sauna build in Suffolk isn’t just about timber and screws anymore. It’s about people turning up. Lighting the stove. Stepping inside. Resetting.
And days like today — steady, quiet progress — are what make that possible.
White wax on the walls.
Lights fitted.
Sign on.
Cladding finished.
Nothing dramatic.
But a proper step closer to opening.
More soon.
If you’d like to book once the sauna opens, you can read more about our private sauna hire in Suffolk
We’ve also written about the wider health benefits of sauna use if you’re new to traditional wood fired saunas.